I counted because I was genuinely a little worried about him, but also because I was proud. That’s the kind of reaction a really good chili cheese dog deserves.
I used to think chili cheese dogs were just a gas station snack. Something you grab at a ballgame and forget about by the time you get home.
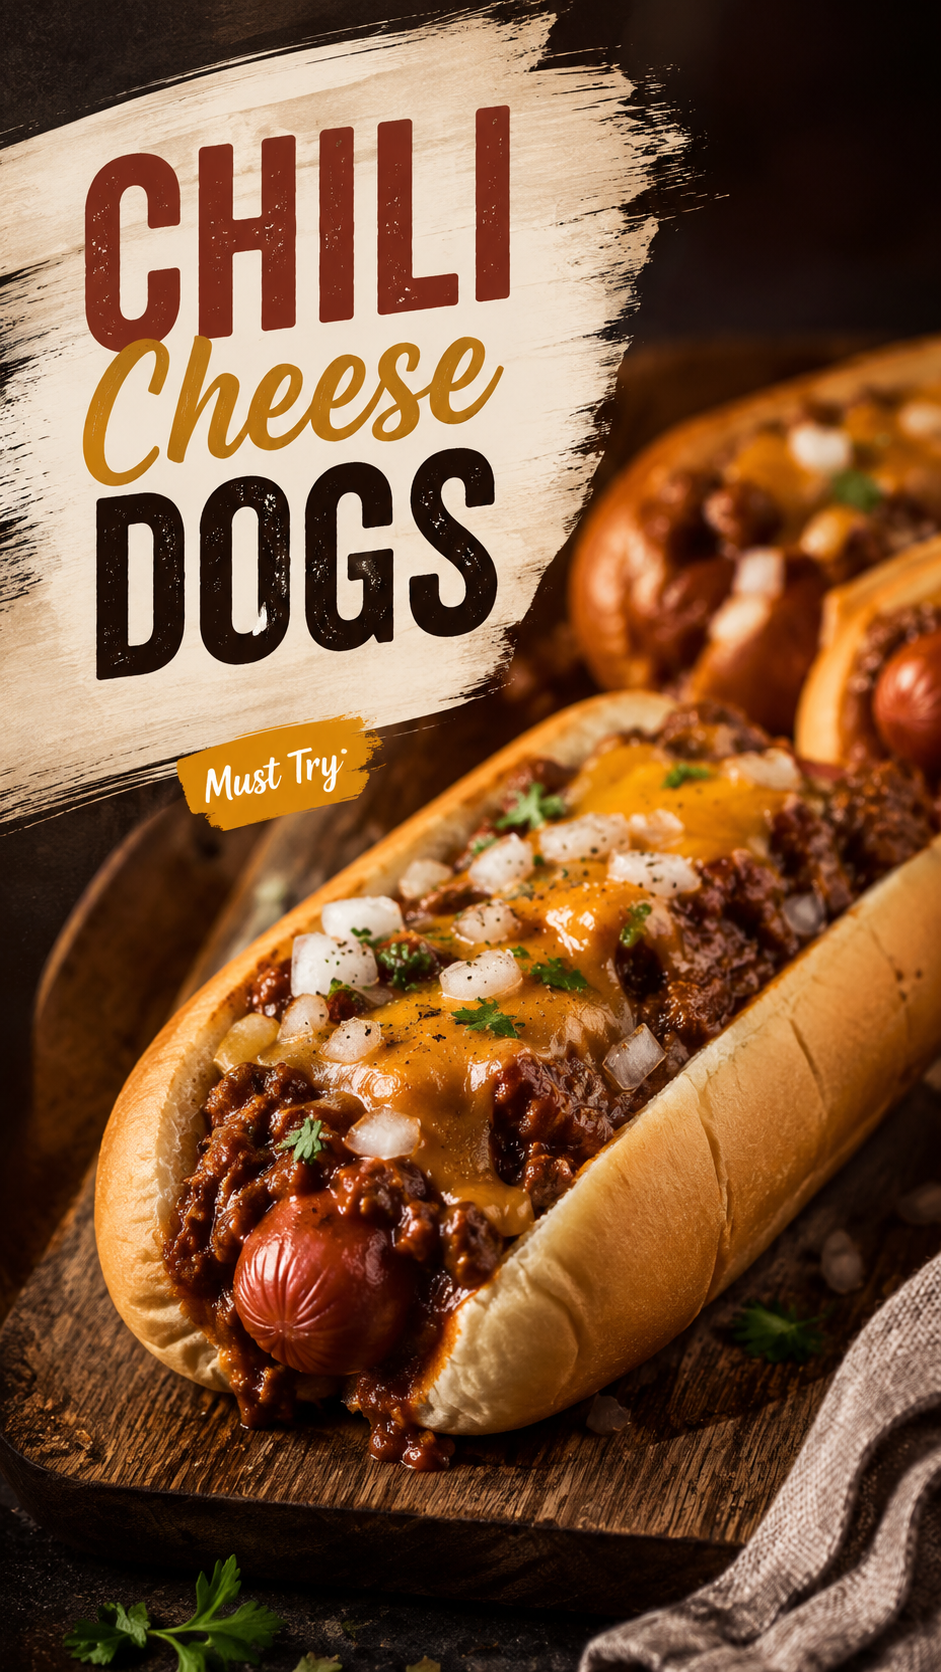
Then I made my own batch of chili from scratch, piled it on a properly grilled hot dog, and buried the whole thing in melted cheese.
I get it now.
This recipe is the one I make when we want something fast, comforting, and a little bit ridiculous. It’s not fancy. It’s not trying to be.
It’s just really, really good.
I’ve tested this a handful of different ways. Canned chili, homemade chili, boiled dogs, grilled dogs, three different cheeses.
The version below is the one that won every single time, and it’s the one I keep coming back to whenever we’re craving something hearty on a weeknight.
Give it 30 minutes and you’ll have dinner that tastes like way more effort went into it than it actually did.
Why This One Actually Works
Most chili cheese dog recipes lean on canned chili and call it a day. I did that for years, and honestly, it’s fine.
But the difference between “fine” and “wait, can I have another one” is homemade chili that’s been simmered just long enough to get thick and rich, not watery.
That’s the whole secret here. Everything else is just assembly.
Canned chili tends to be thin and a little one-note. It slides right off the hot dog and pools at the bottom of the bun.
A homemade batch, simmered with garlic, tomato paste, and a solid mix of spices, actually clings to the dog. It holds its shape, and it tastes like something you’d order at a real diner instead of a gas station counter.
The other small thing that makes a big difference is grilling the hot dogs instead of boiling them. Boiling gives you a soft, kind of bland dog. Grilling gives you a little char and a snap when you bite in.
Small changes, big payoff.
What You’ll Need
| Ingredient | Amount |
|---|---|
| All-beef hot dogs | 8 |
| Hot dog buns | 8 |
| Ground beef (80/20) | 1 lb |
| Yellow onion, diced | 1 medium |
| Garlic, minced | 2 cloves |
| Tomato paste | 2 tbsp |
| Beef broth | 1 cup |
| Chili powder | 2 tbsp |
| Ground cumin | 1 tsp |
| Smoked paprika | 1/2 tsp |
| Salt | 1 tsp, plus more to taste |
| Black pepper | 1/2 tsp |
| Shredded sharp cheddar | 2 cups |
| Yellow mustard | For topping |
| Diced white onion | For topping |
Simple stuff. You probably have most of this in your kitchen already.
Tools You’ll Need
- Large skillet or saucepan
- Wooden spoon
- Grill, grill pan, or regular skillet for the hot dogs
- Sharp knife and cutting board
- Measuring spoons and cups
Pro Tips Before You Start
1. Brown the beef in batches if your pan feels crowded. Overcrowding steams the meat instead of browning it, and browning is where all the flavor comes from.
2. Don’t skip the tomato paste step. Letting it cook for a minute before adding liquid deepens the flavor. It smells strange for a second. Trust the process.
3. Simmer longer than you think you need to. The chili should be thick enough to sit on top of a hot dog without sliding straight off. If it looks soupy, give it more time.
4. Grill the hot dogs if you can. A little char changes everything. Even a hot cast iron pan will get you most of the way there.
5. Warm your buns. A cold, soft bun under hot chili turns to mush fast. A quick toast keeps everything together.
How to Make Chili Cheese Dogs
Step 1: Build the Chili Base
Heat a large skillet over medium-high heat. Add the ground beef and diced onion.
Cook, breaking up the meat as you go, until the beef is browned and the onion is soft. This takes about 6 to 8 minutes.
Drain off any excess grease.
Step 2: Add the Aromatics
Stir in the garlic and tomato paste. Cook for about a minute, stirring constantly so it doesn’t burn.
You’ll notice the mixture gets a little sticky and deep red. That’s exactly what you want.
Step 3: Simmer It Down
Pour in the beef broth, then add the chili powder, cumin, smoked paprika, salt, and pepper.
Stir everything together and bring it to a gentle simmer.
Let it cook uncovered for 15 to 20 minutes, stirring occasionally, until it thickens up.
Taste and adjust the seasoning. This is your moment to make it yours.
Step 4: Cook the Hot Dogs
While the chili simmers, grill or pan-sear the hot dogs until they’re browned and slightly blistered on the outside. About 5 to 7 minutes, turning occasionally.
Step 5: Assemble
Toast the buns lightly if you’d like (I always do).
Place a hot dog in each bun. Spoon a generous amount of chili over the top.
Sprinkle with shredded cheddar while the chili is still hot enough to melt it.
Step 6: Top and Serve
Finish with a drizzle of mustard and a sprinkle of diced onion.
Serve immediately, and grab extra napkins. This is not a tidy meal.
Substitutions and Variations
| Original | Swap | Notes |
|---|---|---|
| Ground beef | Ground turkey | Lighter, still holds up well in the chili |
| All-beef hot dogs | Turkey or plant-based dogs | Adjust cook time slightly |
| Sharp cheddar | Pepper jack | Adds a spicy kick |
| Hot dog buns | Lettuce wraps | For a lower-carb option |
| Yellow mustard | Spicy brown mustard | More tang, more depth |
Want it spicier? Add a diced jalapeno to the chili while it simmers, or a pinch of cayenne.
Want it smokier? Swap half the beef broth for beef stock with a splash of liquid smoke.
Make Ahead Tips
The chili is honestly better the next day. The flavors have more time to settle in.
Make it up to 3 days ahead and store it in an airtight container in the fridge. Reheat gently on the stove before assembling your dogs.
You can also freeze the chili for up to 3 months. Thaw overnight in the fridge before reheating.
Estimated Nutrition
Per serving (1 hot dog with chili and cheese), based on standard ingredient brands.
| Nutrient | Estimated Amount |
|---|---|
| Calories | ~480 |
| Protein | 24g |
| Carbohydrates | 28g |
| Fat | 30g |
| Sodium | 890mg |
These numbers are estimates only. For exact figures based on the specific brands you use, I’d recommend running your ingredients through Cronometer before sharing or relying on them for dietary tracking.
What to Serve With Chili Cheese Dogs
These are rich, so I like pairing them with something a little lighter or crunchier to balance things out.
- Classic coleslaw for some crunch and acidity
- Crispy baked fries or tater tots
- A simple green salad if you want to balance out the richness
- Corn on the cob for a summer cookout vibe
- A cold glass of lemonade or an iced tea if you’re keeping things casual
If we’re having people over, I’ll usually set up a little topping bar with extra cheese, jalapenos, and a couple different mustards so everyone can build their own. It turns dinner into more of an event.
Storage and Reheating
Store leftover chili separately from assembled dogs. Keep it in an airtight container in the fridge for up to 4 days.
Reheat the chili on the stove over low heat, stirring occasionally, or in the microwave in 30-second bursts.
I don’t recommend freezing fully assembled hot dogs. The buns don’t hold up well. Freeze just the chili if you’re planning ahead.
FAQ
Can I use canned chili instead of making it from scratch? You can, but the texture and flavor won’t be quite as rich. If you’re short on time, look for a canned chili without beans and doctor it up with extra chili powder and a splash of beef broth.
Why is my chili too watery? It probably needs more time on the stove. Let it simmer uncovered a bit longer so the liquid can reduce.
Can I make this in a slow cooker? Yes. Brown the beef and onion first, then transfer everything except the hot dogs to a slow cooker. Cook on low for 4 to 6 hours.
What’s the best way to grill the hot dogs if I don’t have an outdoor grill? A cast iron skillet or grill pan works great. Just don’t overcrowd the pan so they get a nice sear instead of steaming.
Can I make this recipe dairy free? Yes, just swap the cheddar for your favorite dairy-free shredded cheese. It won’t melt quite the same, but it’ll still taste good.
Wrapping Up
This chili cheese dog recipe is proof that you don’t need anything fancy to make something people remember.
Silas still brings up that four-hot-dog night, and honestly, I think it might become one of our regular Friday dinners.
If you try this recipe, come back and leave a comment. I want to know how many you (or someone in your house) managed to eat.
And if you have questions along the way, drop them below. I’m always happy to help troubleshoot.