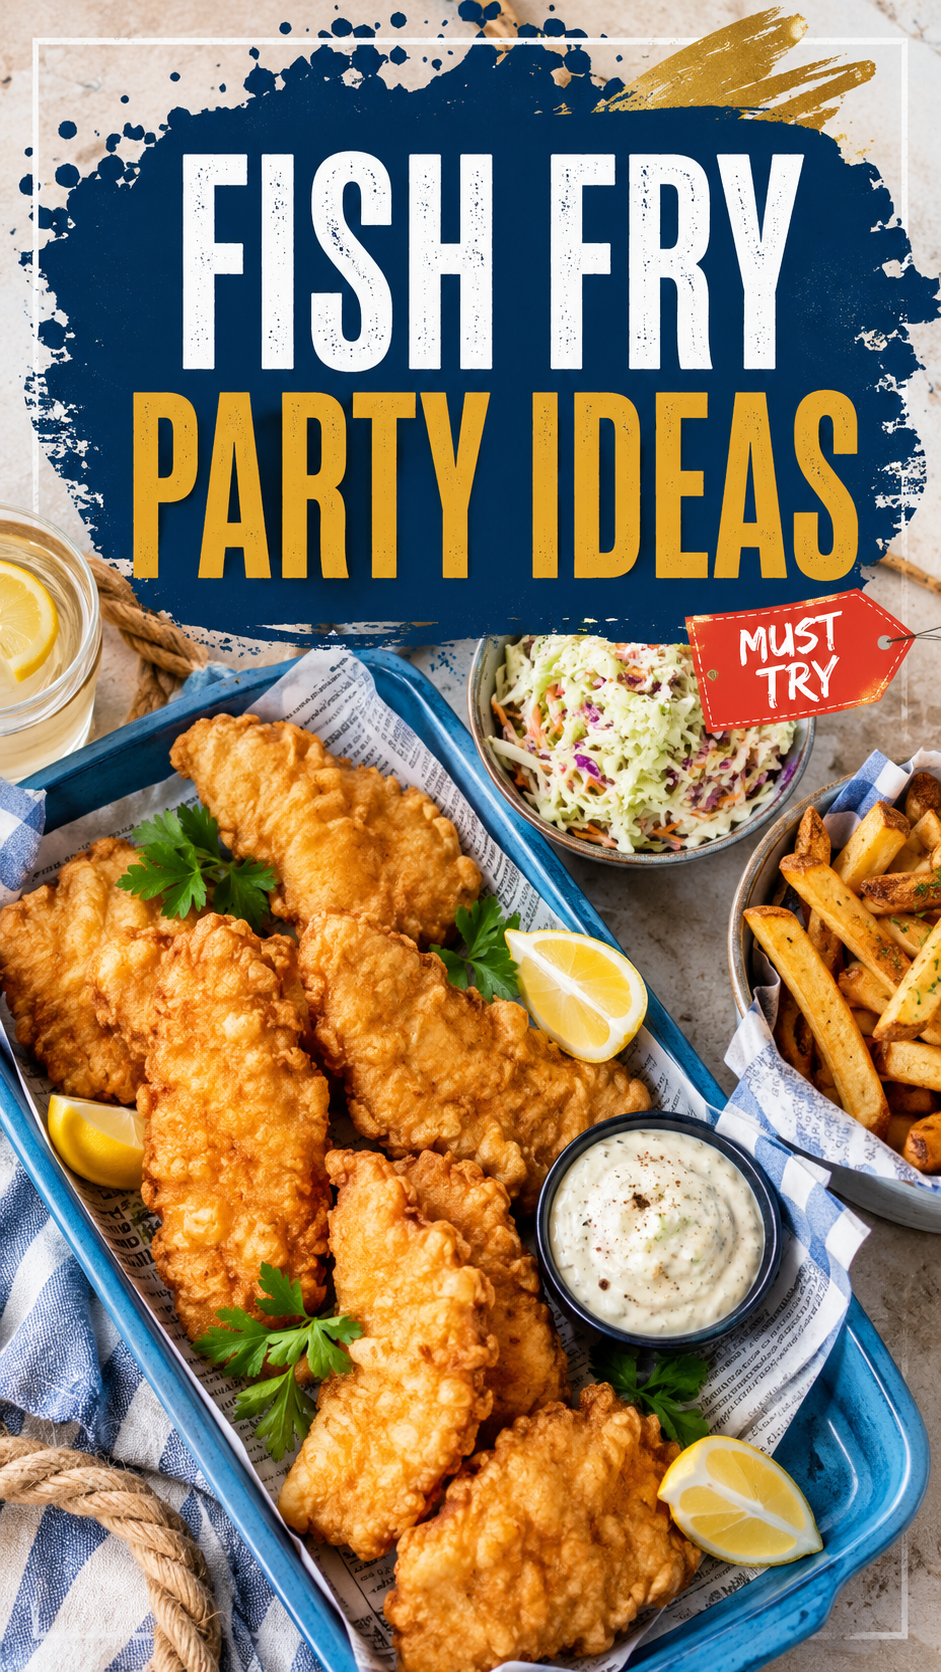
I never planned on becoming “the fish fry person.”
But after making this recipe for a backyard party last summer, that’s exactly what happened.
People kept coming back for seconds. Then thirds. My husband had to physically guard the last few pieces.
That’s when I knew I had to write this one down.
This isn’t just fried fish. It’s a whole party plan wrapped into one recipe, with the crispiest, crunchiest coating you’ve probably ever had at home.
And the crazy part? It comes together with ingredients you likely already have in your pantry.
Let’s get into it. 🐟
What You’ll Need
Here’s everything you’ll need to pull this off.
For the fish:
- 2 lbs firm white fish fillets (catfish, cod, or tilapia all work great)
- 1 cup buttermilk
- 1 tablespoon hot sauce
- 1 cup all-purpose flour
- 1 cup yellow cornmeal
- 2 teaspoons garlic powder
- 2 teaspoons paprika
- 1 teaspoon onion powder
- 1 teaspoon cayenne pepper (optional, but I always add it)
- 1 ½ teaspoons salt
- ½ teaspoon black pepper
- Vegetable oil or peanut oil, for frying
For serving:
- Lemon wedges
- Tartar sauce or remoulade
- Hot sauce, for the table
That’s it. Nothing fancy, nothing you have to hunt down at three different stores.
Pro Tips
I’ve made this recipe more times than I can count at this point, so here’s what actually makes a difference.
- Pat your fish completely dry before the buttermilk soak. It sounds small, but it helps the coating stick so much better.
- Don’t skip the buttermilk soak time. Even 20 minutes makes the fish more tender and helps tone down any fishy smell.
- Keep your oil temperature steady. Too hot and the outside burns before the inside cooks. Too cool and you get greasy, soggy fish. A thermometer is worth every penny here.
- Fry in small batches. I know it’s tempting to fill the pot and get it over with, but overcrowding drops the oil temp fast and you’ll end up with soft, sad fish instead of crispy fish.
- Season the flour, not just the fish. This is honestly the step most people skip, and it’s the difference between “fine” fried fish and fried fish people talk about for weeks.
Tools You’ll Need
- A large mixing bowl (for the buttermilk soak)
- A shallow dish or pie plate (for dredging)
- A deep, heavy-bottomed pot or Dutch oven
- A candy or deep-fry thermometer
- A spider strainer or slotted spoon
- A wire rack set over a baking sheet
That wire rack is doing more work than you’d think. It keeps the fried fish from sitting in its own grease, which keeps the crust crispy.
Substitutions and Variations
Want to switch things up? Here’s what’s worked for me.
| Original | Swap | Notes |
|---|---|---|
| Buttermilk | Milk + 1 tbsp lemon juice | Let it sit 5 minutes before using |
| Cornmeal | Panko breadcrumbs | Lighter, less traditional, still crunchy |
| Cod or catfish | Shrimp | Cut frying time down to 2-3 minutes |
| Vegetable oil | Peanut oil | Higher smoke point, more traditional Southern flavor |
| Cayenne | Smoked paprika | For a milder, smokier version |
If you’re feeding a crowd with different preferences, I’d honestly just do a small batch of shrimp alongside the fish. It’s barely any extra work and everyone leaves happy.
Make Ahead Tips
You can absolutely get ahead on this one.
- Mix your dry coating ingredients up to 3 days ahead and store in an airtight container.
- Soak the fish in buttermilk up to 12 hours ahead in the fridge.
- You can even bread the fish an hour before frying and keep it on a tray in the fridge so it firms up a bit.
Just don’t fry it ahead of time. Fried fish really is best fresh out of the oil.
Nutritional Breakdown (Per Serving)
Rough estimate, based on 6 servings:
| Nutrient | Amount |
|---|---|
| Calories | ~410 |
| Protein | 28g |
| Carbs | 22g |
| Fat | 22g |
| Sodium | 590mg |
This can shift depending on your fish choice and how much oil the fish soaks up, but it’s a solid ballpark.
Instructions
Step 1: Soak the fish
Pat your fish fillets dry, then place them in a bowl with the buttermilk and hot sauce. Let them soak for at least 20 minutes, up to a few hours in the fridge.
Step 2: Mix the coating
In a shallow dish, whisk together the flour, cornmeal, garlic powder, paprika, onion powder, cayenne, salt, and pepper.
Step 3: Heat your oil
Pour about 2 inches of oil into your pot and heat it to 350°F. This is where that thermometer earns its keep.
Step 4: Dredge the fish
Pull each fillet from the buttermilk, letting the excess drip off, then press it into the flour mixture on both sides. Really pack it in there.
Step 5: Fry
Carefully lower 2-3 pieces at a time into the oil. Fry for about 3-4 minutes per side, until deep golden brown and the internal temp hits 145°F.
Step 6: Drain and rest
Move the fried fish to your wire rack instead of paper towels. This keeps the bottom from getting soggy.
Step 7: Serve
Serve immediately with lemon wedges, tartar sauce, and extra hot sauce on the side.
Leftovers and Storage
If you somehow have leftovers (rare in my house), here’s what to do.
- Fridge: Store in an airtight container for up to 2 days.
- Freezer: Freeze cooked, cooled fillets for up to a month.
- Reheating: Skip the microwave. It turns the crispy coating into a soggy mess. Instead, reheat in a 400°F oven or air fryer for 8-10 minutes until hot and crispy again.
FAQ
Can I bake this instead of frying it?
You can, but you won’t get the same crunch. If you go this route, bake at 425°F on a wire rack for about 15-20 minutes, flipping halfway.
What fish works best for a fish fry party?
Catfish is the classic choice, but cod and tilapia are more budget-friendly and just as tasty.
Do I need a deep fryer for this?
Nope. A heavy pot or Dutch oven with a thermometer does the job just fine.
How do I know the oil is ready without a thermometer?
Drop a small pinch of the flour mixture in. If it sizzles and floats within a few seconds, you’re good to go.
Can I make this gluten free?
Yes. Swap the flour for a gluten-free all-purpose blend and double check your cornmeal is certified gluten free.
Wrapping Up
That’s the recipe that turned me into the person people request fish from at every party now.
There’s a small learning curve with the oil temperature, but once you get it, you’ll have it forever.
Make this for your next backyard hangout and watch how fast it disappears.
Drop a comment below once you’ve made it. I want to know what fish you used, what sides you paired it with, and honestly, how many pieces you managed to sneak before serving everyone else. 😄