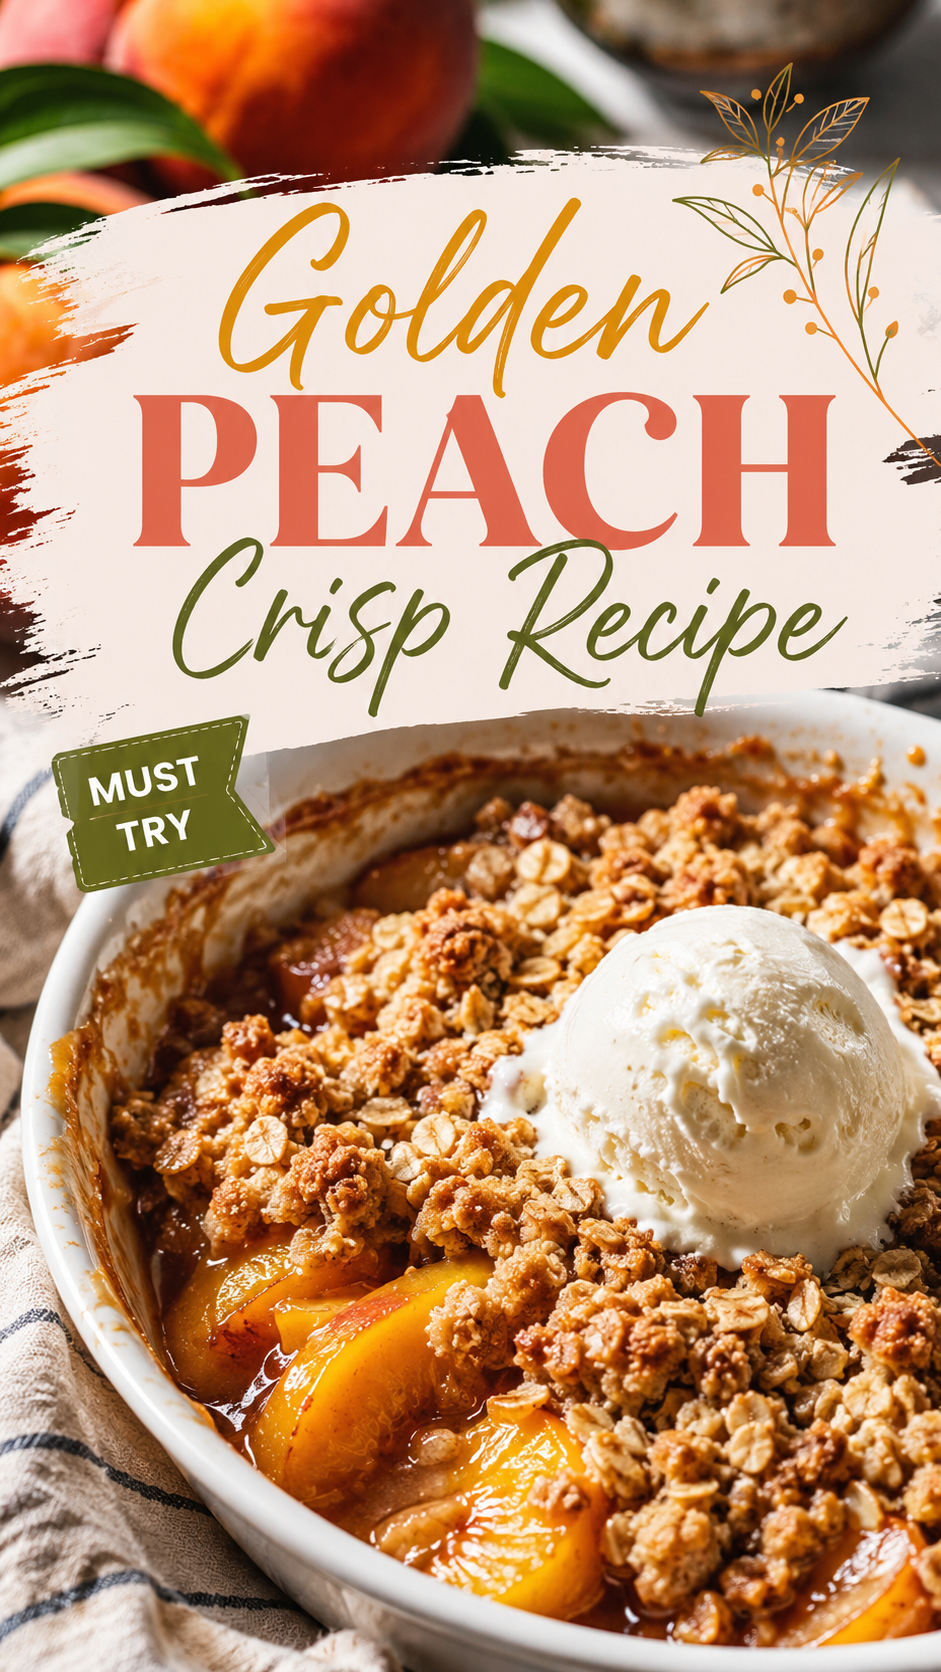
My husband walked into the kitchen, took one sniff, and said “okay, we’re not sharing this one.”
That’s Silas for you. The man has zero chill when peaches and brown sugar are involved.
I’d been sitting on ripe peaches for two days, not sure what to do with them. Peach pie felt like too much work. Peach cobbler felt like I’d made it a hundred times already. So I went with a crisp instead, and honestly? It might be the best decision I made all week.
This golden peach crisp has a soft, jammy peach filling under a crunchy, buttery oat topping. It’s the kind of dessert that takes 15 minutes to throw together and somehow tastes like you spent all afternoon on it. 🍑
Here’s the part that surprised me. A crisp is technically easier than a cobbler, and way easier than pie. No rolling out dough, no fussing over a lattice top. You mix, you crumble, you bake. That’s it.
I’ve made this three times in the last two weeks. Once for us, once for a friend who was going through a rough week, and once because Silas straight up asked for it again. Each time, the whole dish disappeared within a day.
Grab a scoop of vanilla ice cream and let’s get into it.
Why This Recipe Works
A few things make this crisp stand out from the ones I’ve made in the past.
- Fresh peaches keep their shape. A quick toss with cornstarch stops the filling from turning into peach soup.
- Brown sugar in the topping gives you that deep caramel flavor instead of plain sweetness.
- Cold butter is non-negotiable. It’s what creates those crumbly, uneven clusters everyone fights over.
- Oats add texture. Old-fashioned oats give you crunch in every bite, not just a soft crumble.
It’s a small ingredient list, but every single one is doing a job.
What You’ll Need
| Ingredient | Amount |
|---|---|
| Fresh peaches, peeled and sliced | 6 cups (about 6-7 medium peaches) |
| Granulated sugar | 1/3 cup |
| Cornstarch | 2 tablespoons |
| Lemon juice | 1 tablespoon |
| Ground cinnamon | 1/2 teaspoon |
| Vanilla extract | 1 teaspoon |
| All-purpose flour | 3/4 cup |
| Old-fashioned rolled oats | 3/4 cup |
| Brown sugar, packed | 1/2 cup |
| Ground cinnamon (for topping) | 1/2 teaspoon |
| Salt | 1/4 teaspoon |
| Unsalted butter, cold and cubed | 1/2 cup (1 stick) |
Tools You’ll Need
- 9×9 inch baking dish
- Mixing bowls (one large, one medium)
- Sharp knife and cutting board
- Pastry cutter or your hands
- Measuring cups and spoons
Pro Tips
- Don’t skip peeling the peaches. The skins get tough and slightly bitter once baked, and it takes away from that smooth, jammy texture.
- Use cold butter, not softened. If it’s soft, your topping turns into paste instead of those chunky, golden clusters.
- Let the peaches sit with the sugar for 10 minutes before baking. It pulls out some juice and helps everything cook more evenly.
- Bake until the filling is bubbling in the center, not just around the edges. That’s how you know it’s actually done all the way through.
- Rest it for at least 15 minutes before serving. I know it’s hard to wait, but it lets the filling set up so it doesn’t run all over the plate.
How to Make Golden Peach Crisp
Step 1: Prep the Peaches
Peel and slice your peaches into thin wedges. Toss them into a large bowl with the granulated sugar, cornstarch, lemon juice, cinnamon, and vanilla. Stir until every slice is coated.
Step 2: Let Them Rest
Set the peach mixture aside for about 10 minutes while you make the topping. This gives the sugar time to draw out some juice.
Step 3: Make the Crisp Topping
In a medium bowl, whisk together the flour, oats, brown sugar, cinnamon, and salt. Add the cold cubed butter and use a pastry cutter (or your fingers) to work it in until you get small, crumbly clumps. It should look sandy with some pea-sized chunks throughout.
Step 4: Assemble
Pour the peach mixture into your baking dish and spread it into an even layer. Sprinkle the crisp topping evenly over the top, breaking up any large clumps as you go.
Step 5: Bake
Bake at 350°F for 40-45 minutes, until the topping is golden brown and the filling is bubbling around the edges and in the center.
Step 6: Cool and Serve
Let it rest for 15 minutes before serving. Top with vanilla ice cream or whipped cream if you’re feeling fancy.
Substitutions and Variations
| Original | Swap | Notes |
|---|---|---|
| Fresh peaches | Frozen peaches | Thaw and drain excess liquid first, or the filling gets watery |
| All-purpose flour | Gluten-free 1:1 flour | Works well, texture stays close to the original |
| Old-fashioned oats | Quick oats | Slightly less crunch, but still tasty |
| Brown sugar | Coconut sugar | Adds a deeper, almost caramel-like flavor |
| Butter | Vegan butter stick | Keep it cold, same method applies |
| Plain peach crisp | Add berries | Toss in 1 cup of blackberries or raspberries for a peach-berry version |
| Plain topping | Add nuts | Stir in 1/2 cup chopped pecans or walnuts for extra crunch |
Make-Ahead Tips
You can prep parts of this ahead of time, which is great if you’re making it for a dinner party.
- Peach filling: Mix it up to a day ahead and store it covered in the fridge. Give it a stir before adding it to the dish.
- Crumble topping: Make it up to 3 days ahead and keep it in an airtight container in the fridge.
- Fully assembled, unbaked crisp: Cover and refrigerate for up to 24 hours, then bake straight from the fridge. You might need an extra 5-10 minutes in the oven.
Estimated Nutrition
These numbers are estimates only. I’d recommend running your exact ingredients and brands through Cronometer for accurate nutrition info before relying on these for tracking purposes.
| Nutrient | Per Serving (approx, serves 8) |
|---|---|
| Calories | 290 |
| Total Fat | 11g |
| Saturated Fat | 6g |
| Carbohydrates | 46g |
| Sugar | 30g |
| Fiber | 3g |
| Protein | 3g |
What to Serve With Peach Crisp
This dessert plays well with a lot of things.
- Vanilla ice cream. Classic for a reason. The cold and hot temperature contrast is everything.
- Whipped cream. Lighter option if you want something less rich.
- Greek yogurt. If you’re eating it for breakfast (no judgment here).
- A cup of coffee or chai. The warm spices in this crisp pair really well with both.
Storage and Reheating
Store leftover crisp covered in the fridge for up to 4 days. It actually tastes pretty good cold straight out of the fridge too, if you’re into that.
To reheat, pop individual portions in the microwave for 30-45 seconds, or warm the whole dish in a 350°F oven for about 15 minutes to get the topping crispy again.
You can also freeze baked crisp for up to 3 months. Thaw overnight in the fridge, then reheat in the oven so the topping crisps back up instead of going soggy.
FAQ
Can I use canned peaches instead of fresh?
You can, but drain them well first and cut back the sugar in the filling since canned peaches are usually packed in syrup and are already pretty sweet.
Why is my crisp topping soggy instead of crunchy?
This usually happens when the butter was too soft going in, or the crisp didn’t bake long enough for the topping to fully crisp up and set.
Can I make this in a bigger dish for a crowd?
Yes, just double the recipe and use a 9×13 inch dish. You might need to add an extra 5-10 minutes to the bake time.
Do I have to peel the peaches?
I’d recommend it. The skins get chewy and slightly bitter once baked, and it changes the texture of the filling.
Can I make this with other fruit?
Apples, pears, or a peach-berry mix all work great with this same topping. Just adjust the sugar depending on how sweet your fruit is.
How do I know when my peaches are ripe enough to use?
Ripe peaches give slightly when you press near the stem and smell sweet even before you cut into them. If they’re still firm and don’t smell like much, let them sit on the counter for a couple more days before baking.
Can I halve this recipe for a smaller batch?
Yes. Cut all the ingredients in half and bake it in an 8×8 inch dish instead. The bake time stays roughly the same, just keep an eye on it after the 30 minute mark.
Wrapping Up
This golden peach crisp is one of those recipes that looks like way more effort than it actually is. Warm peaches, a crunchy oat topping, and a scoop of ice cream melting into the whole thing. Silas has already asked when I’m making it again, and it’s only been three days.
If you give this a try, come back and leave a comment letting me know how it turned out. And if you have any questions before you get started, drop them below and I’ll help you out.