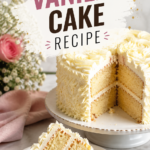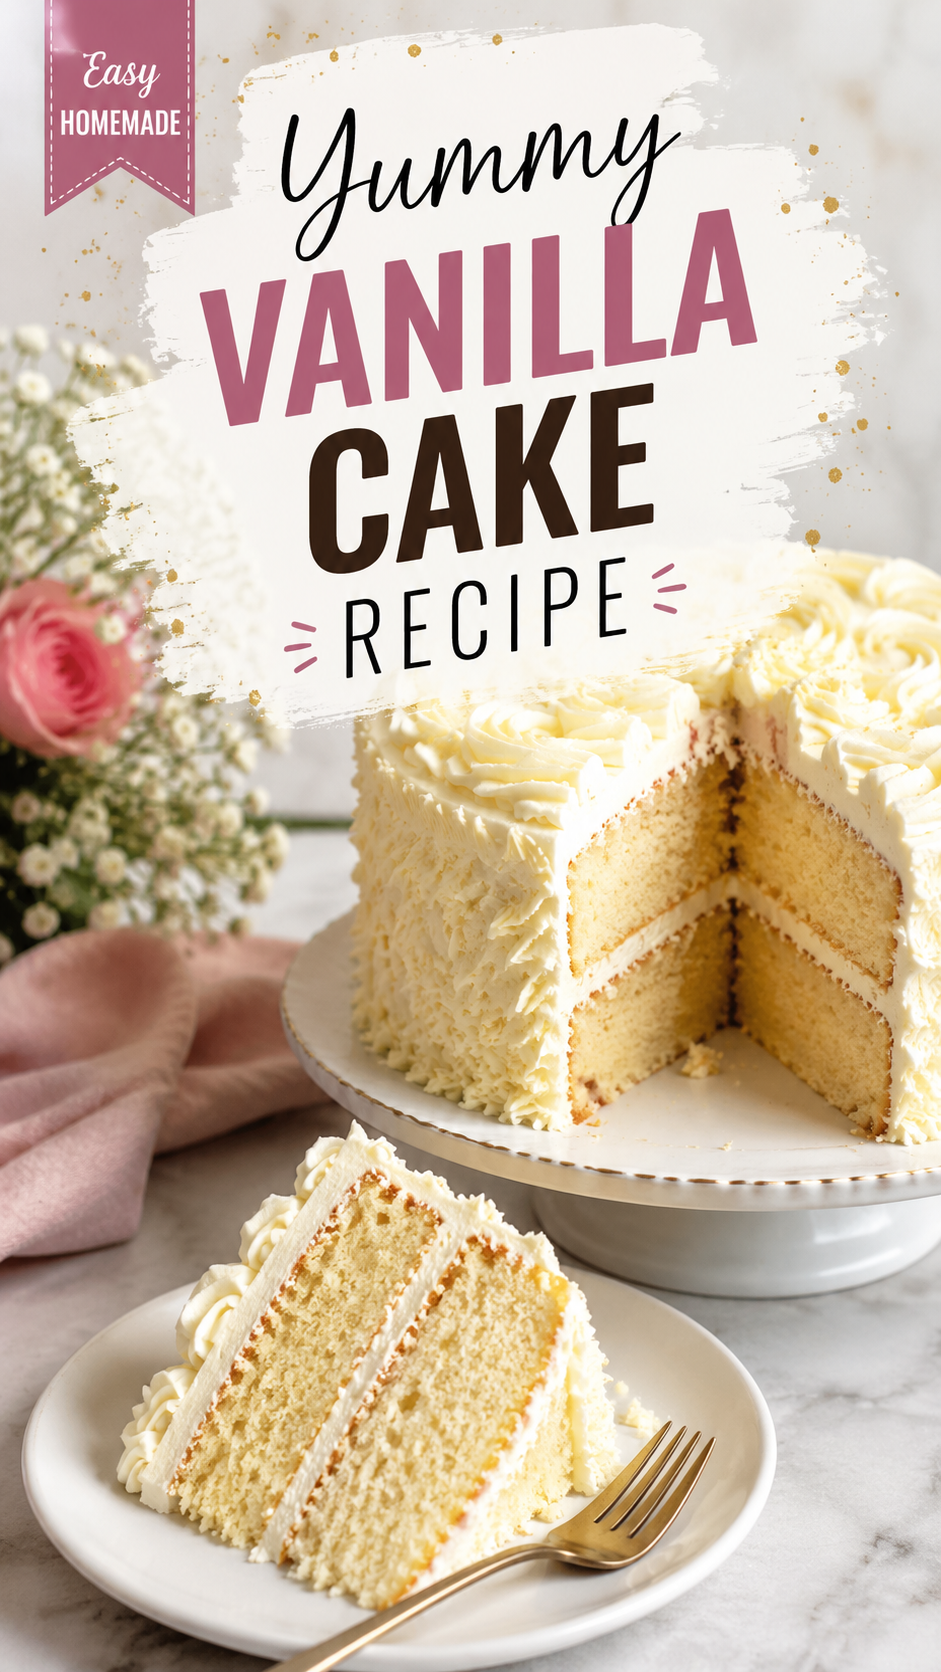
Can a cake that only needs one bowl actually taste bakery-good? I wasn’t convinced either, until I made this one for the fourth time in a month.
This vanilla cake is soft, moist, and has that pillowy crumb you usually only get from a $40 cake at a fancy bakery.
And the vanilla flavor is real vanilla, not that flat, one-note sweetness you get from a box mix.
I’ve made this cake for birthdays, random Tuesdays, and once at 9pm because I just really wanted cake. It works every single time.
Let’s get into it.
What You’ll Need
Here’s everything you’ll need to pull this off. Nothing fancy, just good ingredients used the right way.
For the cake:
| Ingredient | Amount |
|---|---|
| All-purpose flour | 2 ¾ cups |
| Baking powder | 2 ½ tsp |
| Salt | ½ tsp |
| Unsalted butter, softened | 1 cup (2 sticks) |
| Granulated sugar | 2 cups |
| Large eggs | 4, room temperature |
| Vanilla extract | 1 tbsp (yes, a full tablespoon) |
| Whole milk | 1 cup, room temperature |
For the frosting:
| Ingredient | Amount |
|---|---|
| Unsalted butter, softened | 1 cup |
| Powdered sugar | 4 cups |
| Vanilla extract | 2 tsp |
| Heavy cream | 2–3 tbsp |
| Pinch of salt | to taste |
Tools You’ll Need
- Two 9-inch round cake pans
- Stand mixer or hand mixer
- Mixing bowls
- Rubber spatula
- Wire cooling rack
- Offset spatula (for frosting, but a butter knife works too)
How to Make It
1. Prep your pans and oven.
Preheat your oven to 350°F. Grease your cake pans and line the bottoms with parchment paper. Trust me, don’t skip the parchment.
2. Mix your dry ingredients.
In a bowl, whisk together the flour, baking powder, and salt. Set it aside.
3. Cream the butter and sugar.
In your stand mixer, beat the butter and sugar together for a full 3 minutes. It should look pale and fluffy, almost like frosting already.
This step matters more than people think. It’s where all your air pockets come from.
4. Add the eggs and vanilla.
Add the eggs one at a time, mixing well after each one. Then mix in the vanilla extract.
5. Alternate the dry ingredients and milk.
Add the flour mixture in three parts, alternating with the milk, starting and ending with flour. Mix on low speed just until combined.
Overmixing here is the number one reason cakes turn out dense.
6. Bake.
Divide the batter evenly between your two pans. Bake for 28 to 32 minutes, or until a toothpick comes out clean.
7. Cool completely.
Let the cakes cool in the pans for 10 minutes, then move them to a wire rack to cool all the way. This part is not optional. Warm cake plus frosting equals a melty mess.
8. Make the frosting.
Beat the butter until smooth, then slowly add the powdered sugar. Add vanilla, salt, and heavy cream one tablespoon at a time until it’s spreadable but holds its shape.
9. Frost and stack.
Place one layer on your cake stand, spread frosting on top, add the second layer, then frost the top and sides.
Pro Tips
A few things I learned the hard way so you don’t have to:
- Room temperature ingredients are non-negotiable. Cold eggs and milk make the batter curdle and mess with the texture. Set everything out an hour before baking.
- Weigh your flour if you can. Scooping straight from the bag can pack in way more flour than you think, which is how cakes turn out dry and dense.
- Don’t open the oven early. I know it’s tempting. Wait until at least the 25-minute mark or your cake can sink in the middle.
- Level your cakes before frosting. Use a serrated knife to slice off the domed top. It makes stacking so much easier and it looks way more professional.
- Chill the cake for 20 minutes before slicing. It sounds small, but it makes your slices come out clean instead of crumbly.
Substitutions and Variations
- Buttermilk instead of whole milk makes the crumb even softer and adds a slight tang.
- Almond extract swapped in for half the vanilla gives it a bakery-style flavor twist.
- Gluten-free flour blend (1:1 ratio) works if you need this cake gluten-free. Just add ¼ tsp xanthan gum if your blend doesn’t already have it.
- Dairy-free swap: use plant-based butter and oat milk. The texture stays close to the original.
- Funfetti version: fold in ½ cup of rainbow sprinkles right before pouring the batter into the pans.
- Lemon vanilla cake: add 1 tablespoon of lemon zest to the batter for a bright, citrusy version.
Make Ahead Tips
You can bake the cake layers up to 2 days ahead. Wrap them tightly in plastic wrap and keep them at room temperature.
Want to go further out? Freeze the unfrosted layers for up to 3 months. Just thaw them at room temperature before frosting.
The frosting can also be made 3 days ahead. Keep it in the fridge, then let it soften on the counter before spreading.
A Few Extra Details
Nutrition (per slice, 12 slices total): roughly 420 calories, 18g fat, 60g carbs, 4g protein. This will shift depending on your exact ingredients.
Time efficiency tip: make the frosting while the cakes are baking. It saves you a solid 15 minutes and means less time standing around.
Pairing suggestions: this cake goes really well with fresh berries, a scoop of vanilla bean ice cream, or a hot cup of coffee if you’re having it for breakfast (no judgment here).
Leftovers and Storage
Store leftover cake in an airtight container at room temperature for up to 3 days.
If your kitchen runs warm, keep it in the fridge instead, just let slices sit out for 20 minutes before eating so the frosting softens back up.
You can also freeze frosted slices individually. Wrap them well, and they’ll keep for about 2 months. Thaw overnight in the fridge.
FAQ
Why did my cake sink in the middle? This usually happens from opening the oven too early or underbaking. Use a toothpick to test doneness instead of guessing by time alone.
Can I make this into cupcakes? Yes. Fill liners two-thirds full and bake for 18 to 20 minutes.
My frosting is too runny, what do I do? Add more powdered sugar, a tablespoon at a time, until it thickens up.
Can I use salted butter? You can, just skip the extra pinch of salt in the recipe.
Why does the recipe call for so much vanilla? Because it’s a vanilla cake, and the flavor should actually taste like vanilla. A full tablespoon makes a noticeable difference.
Wrapping Up
This cake has become my go-to for basically every occasion, and honestly, once you make it, you’ll probably feel the same way.
It’s simple enough for a weeknight but pretty enough for a birthday table.
Give it a try, then come back and tell me how it turned out. I’d love to know if you tried any of the variations, and if you run into any questions while baking, drop them in the comments. I read every single one.