Is it weird that I have opinions about cookie texture the way some people have opinions about wine?
Because I do. Strong ones.
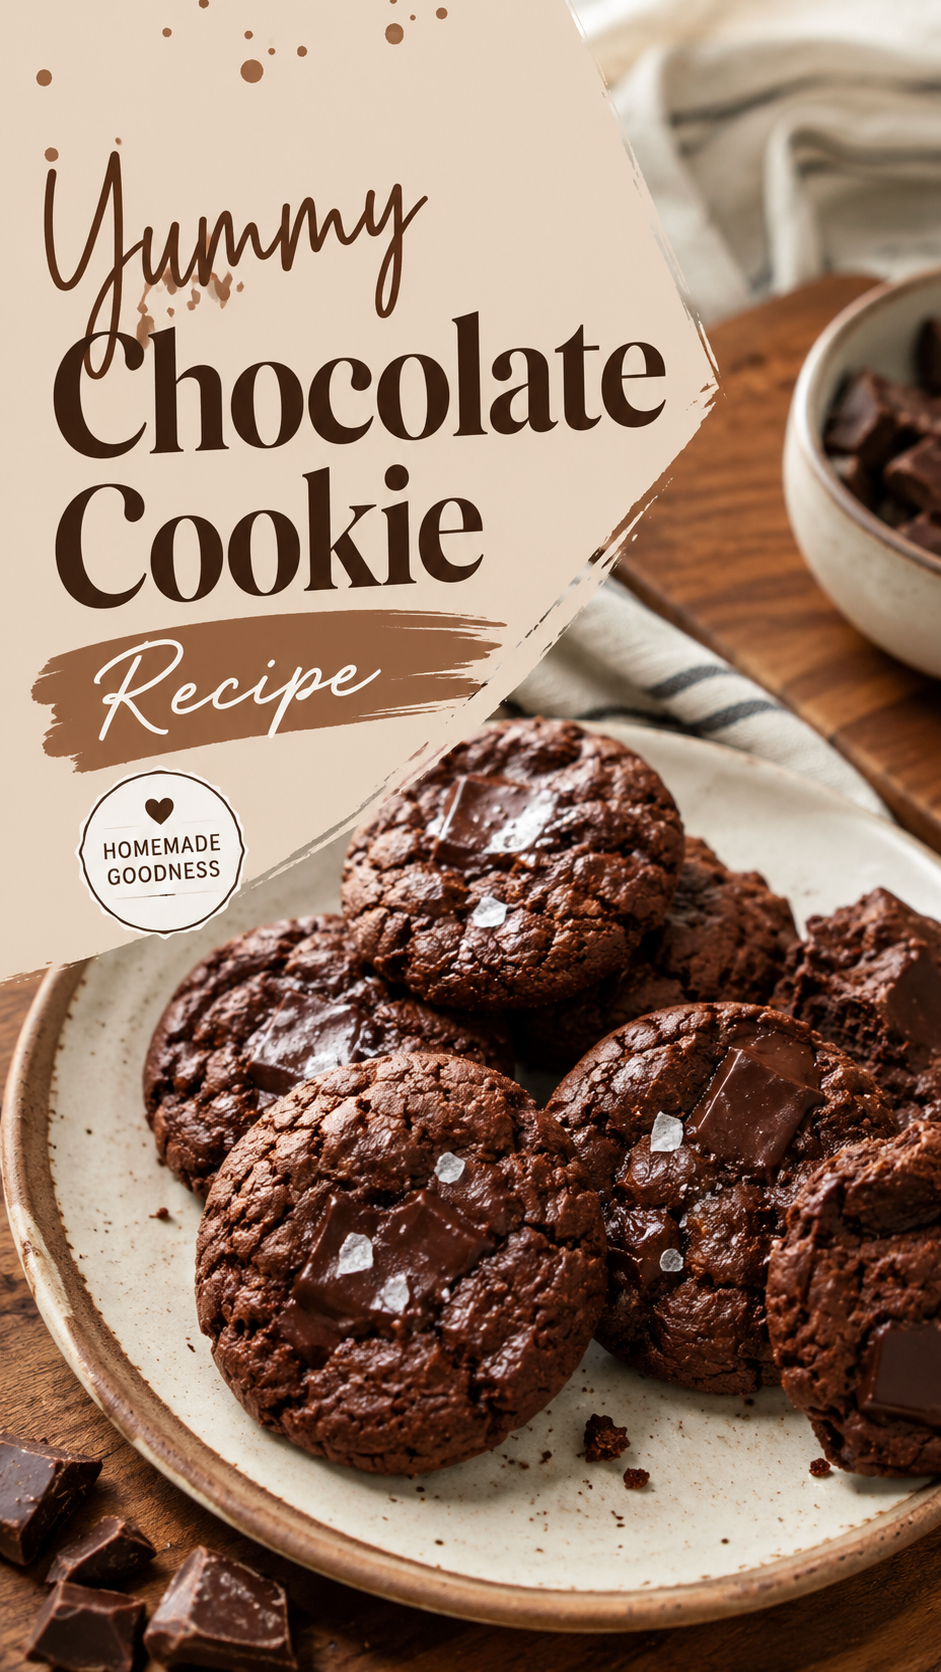
And after way too many batches (some sad, some genuinely life-changing), I finally landed on the version I make on repeat. Crispy edges. Soft, gooey center. Chocolate in basically every bite.
This one’s it. Let’s get into it.
What You’ll Need
Here’s everything you’ll need to pull together before you start:
- 2 1/4 cups all-purpose flour
- 1 tsp baking soda
- 1 tsp salt
- 1 cup unsalted butter, softened
- 3/4 cup granulated sugar
- 3/4 cup packed brown sugar
- 1 tsp vanilla extract
- 2 large eggs
- 2 cups semi-sweet chocolate chips
- 1 cup chopped walnuts (optional, but I’m team walnuts)
Tools you’ll need:
- Large mixing bowl
- Hand mixer or stand mixer
- Measuring cups and spoons
- Baking sheet
- Parchment paper
- Cookie scoop (or two spoons if that’s what you’ve got)
- Wire cooling rack
Pro Tips Before You Start
A few things I wish someone had told me the first time I made these.
- Soften your butter properly. Not melted, just soft enough to leave a dent when you press it. Melted butter makes flat, greasy cookies. Learned that one the hard way.
- Don’t skip chilling the dough. Even 30 minutes in the fridge makes a real difference in how thick and chewy the cookies turn out.
- Underbake slightly. Pull them out when the edges are golden but the center still looks a little soft. They’ll keep cooking on the hot pan for a few minutes after.
- Use a mix of chip sizes. I like combining regular chips with a handful of chopped chocolate bar. It gives you those little chocolate puddles you see in bakery cookies.
- Room temperature eggs mix in smoother. Cold eggs straight from the fridge can make your butter seize up a bit. Small thing, but it matters.
How to Make Chocolate Chip Cookies
- Preheat your oven to 375°F. Line your baking sheet with parchment paper.
- In a medium bowl, whisk together the flour, baking soda, and salt. Set it aside.
- In your large mixing bowl, beat the softened butter with both sugars until it’s light and fluffy. This takes about 2 to 3 minutes.
- Add the vanilla and eggs. Mix until fully combined.
- Slowly add the dry ingredients into the wet mixture, mixing just until combined. Don’t overmix here, or your cookies get tough.
- Fold in the chocolate chips and walnuts (if using) by hand.
- Cover the dough and chill it in the fridge for at least 30 minutes. An hour is even better if you have the patience.
- Scoop rounded balls of dough onto your baking sheet, leaving about 2 inches of space between each one.
- Bake for 9 to 11 minutes, until the edges are golden and the centers still look slightly underdone.
- Let the cookies rest on the baking sheet for 5 minutes before moving them to a wire rack to finish cooling.
Substitutions and Variations
Cookies are one of those recipes where you can play around a little without ruining anything.
- Butter: Swap for a plant-based butter alternative if you’re dairy-free. The texture stays close to the same.
- Flour: A 1:1 gluten-free baking blend works well here. Just know the cookies might spread a touch less.
- Sugar: Coconut sugar can replace the brown sugar for a slightly deeper, caramel-like flavor.
- Chocolate: Dark chocolate chunks, milk chocolate, or even white chocolate all work if semi-sweet isn’t your thing.
- Nuts: Pecans work just as well as walnuts. Or skip them entirely.
- Add-ins: Sea salt flakes on top before baking. Trust me on this one.
Make Ahead Tips
The dough freezes beautifully, which honestly might be the most useful thing about this recipe.
Scoop the dough into balls, freeze them on a tray until solid, then transfer everything into a freezer bag. You can bake straight from frozen. Just add an extra 1 to 2 minutes to the bake time.
That means fresh cookies are basically always five minutes away. No dough-making required on a random Tuesday night.
A Few Extra Details
Nutritional breakdown (per cookie, based on a batch of 24):
| Nutrient | Amount |
|---|---|
| Calories | ~180 |
| Total fat | 9g |
| Carbs | 24g |
| Sugar | 15g |
| Protein | 2g |
Keep in mind this shifts depending on the size of your cookies and which mix-ins you use.
Diet swaps:
- Gluten-free: use a 1:1 gluten-free flour blend
- Dairy-free: use plant-based butter and dairy-free chocolate chips
- Lower sugar: cut the sugar by about a quarter, the cookies will spread slightly less but still taste great
Pairing ideas:
Cold milk is the obvious one, but a scoop of vanilla ice cream between two slightly warm cookies turns this into a proper dessert. Coffee works too, especially if you lean toward the darker chocolate version.
Time saver: Make a double batch of dough on a Sunday, freeze half, and you’ve basically set future-you up for zero-effort cookies for weeks.
Storing Leftovers
Keep baked cookies in an airtight container at room temperature. They’ll stay good for about 4 to 5 days, though mine rarely last that long.
Want them to stay soft longer? Toss a slice of bread into the container. Sounds strange, but it actually works and keeps the moisture just right.
You can also freeze fully baked cookies for up to 3 months. Just let them thaw at room temperature, or warm them in the microwave for 10 to 15 seconds if you want that fresh-baked feel again.
FAQ
Why did my cookies turn out flat?
Your butter was probably too soft or melted, or your dough wasn’t chilled long enough. Both cause spreading.
Can I use salted butter instead of unsalted?
You can. Just cut the added salt in the recipe down to about half a teaspoon.
Why do you chill the dough?
Chilling firms up the butter again, which slows down spreading in the oven. It also gives the flour time to hydrate, which makes for a chewier cookie.
Can I make these without eggs?
Yes, a flax egg (1 tbsp ground flaxseed mixed with 3 tbsp water, left to sit for 5 minutes) works as a substitute.
How do I know when they’re actually done?
The edges should look set and slightly golden, while the center still looks a little soft and underbaked. They firm up as they cool.
Wrapping Up
That’s the whole recipe, start to finish, and every little detail I’ve picked up from making these more times than I can count.
Go make a batch this week. Freeze half the dough if you want backup cookies on standby, or just eat the whole thing warm off the tray like I usually do.
Let me know in the comments how yours turn out, and if you tried any of the swaps or add-ins. I always love hearing what changes people make to their own batch.