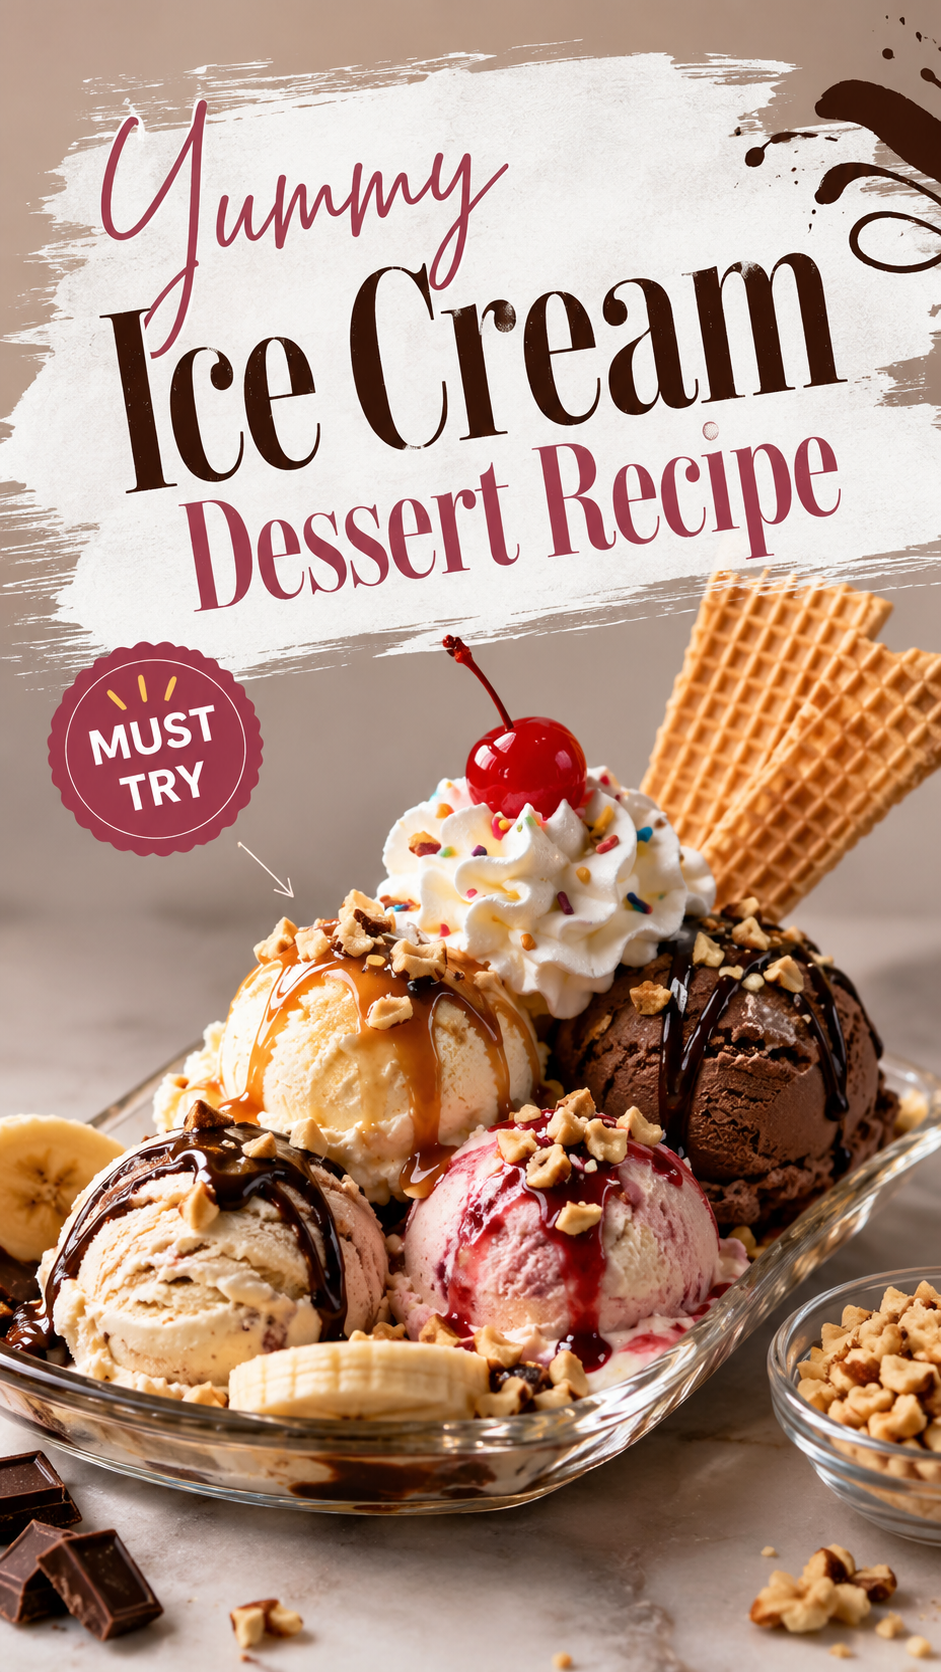
Silas opened our freezer last week looking for ice packs and instead found half a pan of this cake, wrapped in foil like it was hiding from him. 🙈
He didn’t ask what it was. He just grabbed a fork and ate it standing at the counter, still in his work boots.
That’s the real review. Not the recipe card, not the photos. Just a grown man eating dessert straight from the pan at 6pm on a Tuesday.
This cake is layers of ice cream sandwiches, whipped topping, and whatever mix-ins you’re craving, frozen into something you can slice like a real cake. No ice cream maker. No churning. No standing over a stove.
You’re basically assembling, not cooking. It’s the kind of dessert that looks like way more effort than it actually is, which honestly might be my favorite category of recipe.
Let’s get into it.
What You’ll Need
| Ingredient | Amount |
|---|---|
| Ice cream sandwiches | 18-20 (about 2 boxes) |
| Whipped topping, thawed | 16 oz tub |
| Hot fudge sauce | 1 cup |
| Caramel sauce | 1/2 cup |
| Crushed Oreos | 1 cup |
| Mini chocolate chips | 1/3 cup |
| Flaky sea salt | A pinch, for the top |
A few notes on ingredients. Store bought ice cream sandwiches work perfectly here, so don’t overthink this part. I usually grab whatever the grocery store has on sale.
And the whipped topping needs to actually be thawed, not just softened. Rock hard whipped topping is impossible to spread and you’ll tear up your sandwich layer trying.
Tools You’ll Need
- 9×13 baking dish
- Sharp knife (for trimming sandwiches to fit)
- Rubber spatula
- Plastic wrap or foil
That’s genuinely it. No mixer, no special pans, nothing you don’t already own.
Pro Tips
Let the ice cream sandwiches sit out for 2-3 minutes before layering. Straight from the freezer, they crack when you try to fit them into the pan. A tiny bit of softening fixes that.
Trim the edges with a knife, don’t force them. Some sandwiches won’t fit the pan perfectly. Cut them down instead of squishing them, or you’ll end up with weird gaps once it’s frozen and sliced.
Freeze in layers, not all at once. I add the fudge and caramel between layers, then pop the whole pan back in the freezer for 15-20 minutes before adding the next layer. It keeps things from turning into total mush when you cut it.
Line your pan with plastic wrap first. This one’s a game changer. It makes lifting the whole cake out for cleaner slices so much easier, especially if you’re serving it at a party.
Don’t skip the freeze time before serving. I know it’s tempting to dig in immediately, but this cake needs a solid 4 hours minimum to set up properly. Overnight is even better.
How to Make It
- Line a 9×13 dish with plastic wrap, leaving extra hanging over the edges.
- Arrange a single layer of ice cream sandwiches on the bottom, trimming to fit as needed.
- Spread half the whipped topping over the sandwiches in an even layer.
- Drizzle with half the hot fudge and half the caramel sauce.
- Sprinkle with half the crushed Oreos and chocolate chips.
- Add a second layer of ice cream sandwiches on top.
- Repeat with the remaining whipped topping, fudge, caramel, Oreos, and chocolate chips.
- Cover with the overhanging plastic wrap and freeze for at least 4 hours, or overnight.
- Lift the cake out using the plastic wrap, slice with a warm knife, and finish with a pinch of flaky salt.
Substitutions and Variations
| Original | Swap | Notes |
|---|---|---|
| Vanilla ice cream sandwiches | Cookies and cream sandwiches | Great if you love an Oreo forward flavor |
| Hot fudge | Peanut butter sauce | Adds a nutty, salty edge |
| Oreos | Crushed pretzels | Adds crunch and cuts the sweetness |
| Whipped topping | Homemade whipped cream | Stabilize with a bit of instant pudding mix so it holds up in the freezer |
| Chocolate chips | Sprinkles | Fun for birthdays or summer parties |
Make Ahead Tips
This cake practically wants to be made ahead. It needs freezer time anyway, so you might as well plan for it.
You can make it up to 3 days in advance and keep it wrapped tightly in the freezer. Just pull it out and let it sit for 5-10 minutes before slicing.
It also travels well if you keep it in the pan with a lid, which makes it an easy one to bring to a cookout or someone else’s house.
Estimated Nutritional Breakdown
These numbers are estimates only, not lab tested values, and will vary depending on the exact brands you use.
| Nutrient | Per Slice (1/12 of cake) |
|---|---|
| Calories | 320 |
| Fat | 15g |
| Carbohydrates | 42g |
| Sugar | 29g |
| Protein | 4g |
Meal Pairings
This dessert is rich, so I like to pair it with something light beforehand. A grilled chicken dinner or a simple pasta with lemon works well as a starter meal.
If you’re serving it after a heavier dinner like BBQ ribs, cut the slices smaller since it’s plenty filling on its own.
Coffee is honestly the best pairing here. The bitterness cuts right through all that sweetness.
Storage and Reheating
Keep leftovers covered tightly in the freezer for up to 2 weeks.
There’s no reheating involved since it’s meant to stay frozen, but you can let slices sit at room temperature for about 5 minutes before eating if you want it a little softer.
Avoid leaving it out too long, since the whipped topping layer will start to slide once it warms up.
FAQ
Can I use homemade ice cream sandwiches instead of store bought?
Yes, though it adds a lot more time to the process. Store bought keeps this recipe quick, which is kind of the whole point.
Why did my layers turn out soupy instead of firm?
This usually means the whipped topping wasn’t fully thawed, or the cake didn’t get enough total freezer time. Give it the full 4 hours, and check that your freezer is actually cold enough.
Can I make this in a different size pan?
Yes, just adjust the number of ice cream sandwiches to fit your pan size. A round springform pan also works if you want a more traditional cake shape.
Is this recipe kid friendly to help make?
Very much so. Layering the sandwiches and sprinkling toppings is an easy job for kids to help with, since there’s no oven or sharp tools involved until slicing.
How far in advance can I make this for a party?
Up to 3 days ahead is ideal. Any longer and you risk some freezer burn, especially if your freezer opens and closes a lot.
Wrapping Up
This is one of those recipes I keep coming back to because it never actually feels like work.
You layer, you freeze, you forget about it until someone opens the freezer looking for ice packs and finds dessert instead.
If you make this one, I would genuinely love to hear how it turned out. Drop a comment below and let me know which mix-ins you went with, or if you’ve got a combo I need to try next.